

The muddier, the better. This is the mantra for some outdoor enthusiasts. Muddied boots are a bit like a badge of honour – a sign that your adventures have been sufficiently epic, rugged and wild. But, when you get back home from the mountains, you’re faced with a dilemma: do you know how to clean and re-proof your hiking boots; or will you just discard them in the garage, wet and caked in a thick layer of Lakeland or Snowdonian mud?
I, for one, opt for the latter far too often. But it’s a bad habit to get into. Why? Well, dirt, mud and sand particles on boots can prematurely dry out leather, corrode fibres (acting like sandpaper on your boots) and, generally, leave your pair of Scarps or Salomons performing well below par. The good news is that cleaning your boots, and thus prolonging their life and boosting their performance, shouldn’t be a major hassle. Here’s our simple, three-step process on how to clean and re-proof your hiking boots correctly.
How to clean and re-proof your hiking boots: Step 1
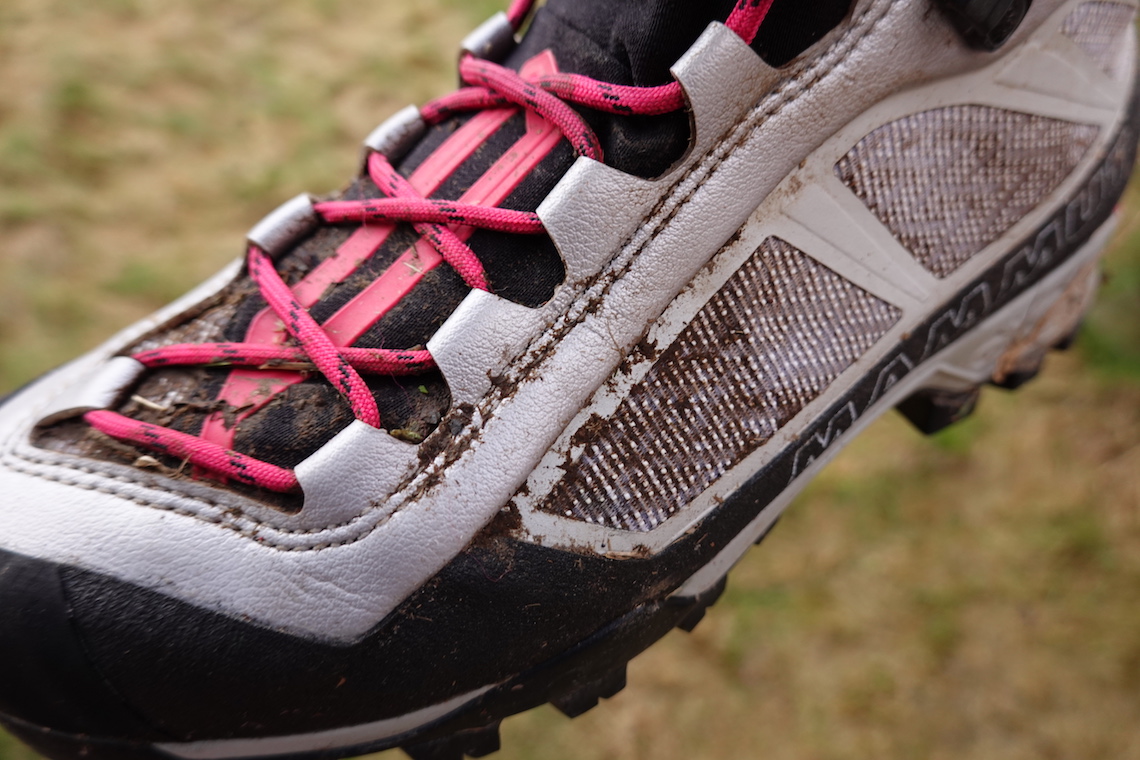
Clean off the worst of the mud and dirt
The first step is to clean off the worst of the caked-on mud and dirt. If the mud has dried, use a stiff-bristled brush to get rid of it; if the mud is still wet, use a cloth to wipe off the worst of it.
To avoid making an almighty mess, carry out this process either outside or over an open bin – and, for pro level cleaning, remove the laces to ensure better access to the tongue, and use an old toothbrush to clean debris that has collected into the boots’ nooks and crannies such as the eyelets.
How to clean and re-proof your hiking boots: Step 2
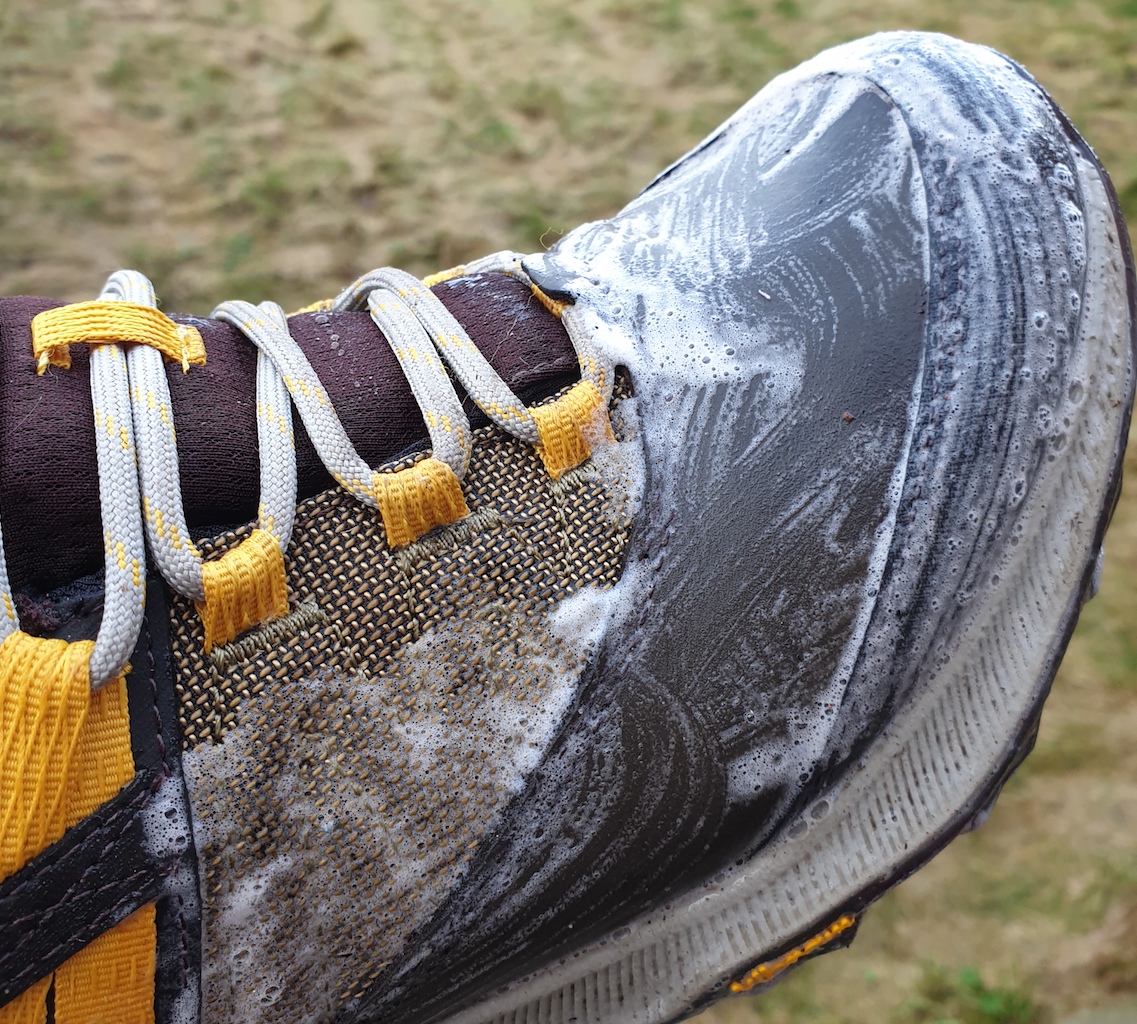
Deep clean the boots with water and a cleaning gel
Using a damp cloth and a bowl of lukewarm water (do not use detergent or washing up liquid), clean the boots thoroughly to remove any remaining loose mud, dirt and debris. Next it’s time for the deep clean.
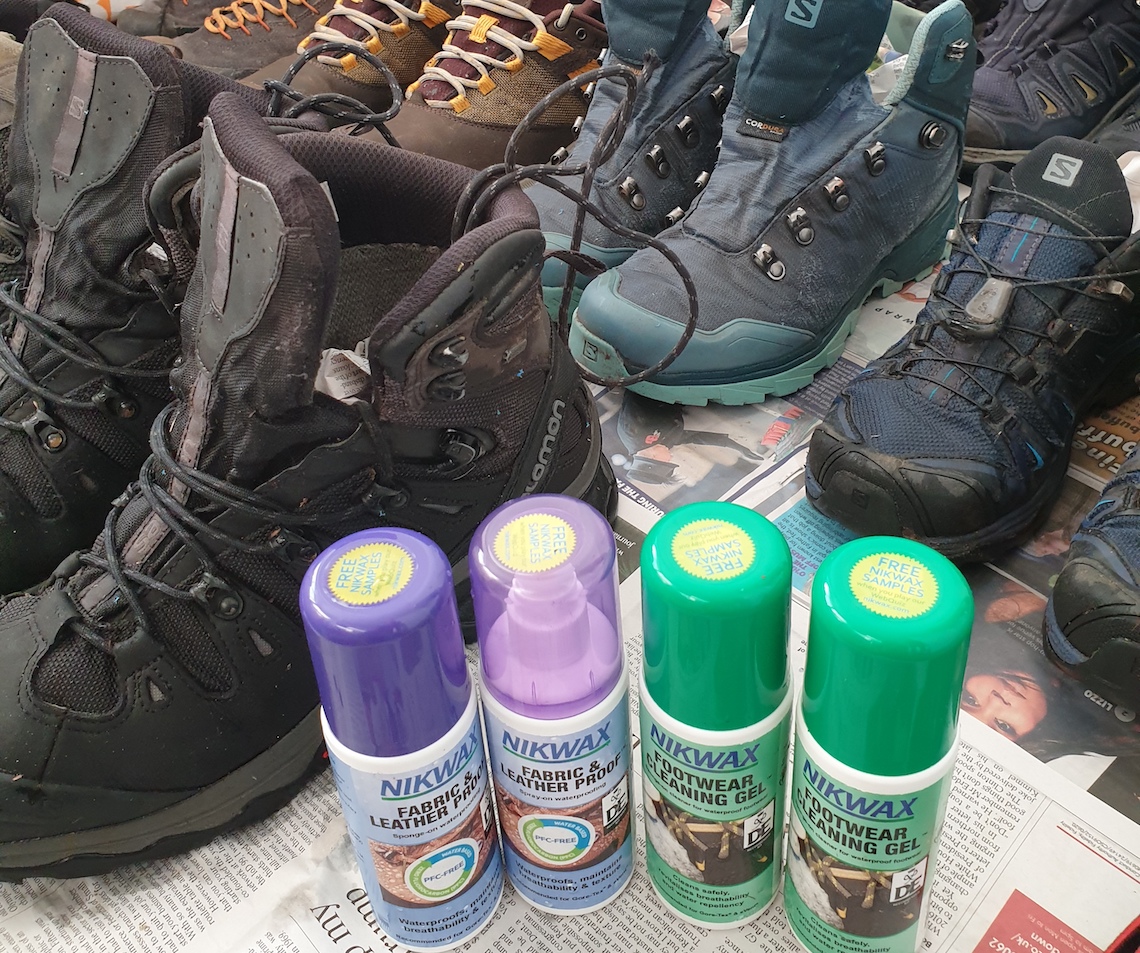
Using a specialist product such as Nikwax Footwear Cleaning Gel, scrub your boots comprehensively and vigorously to remove any remaining stubborn mud or embedded dirt. This will leave your boots as clean as possible and prepare them for re-proofing.
How to clean and re-proof your hiking boots: Step 3
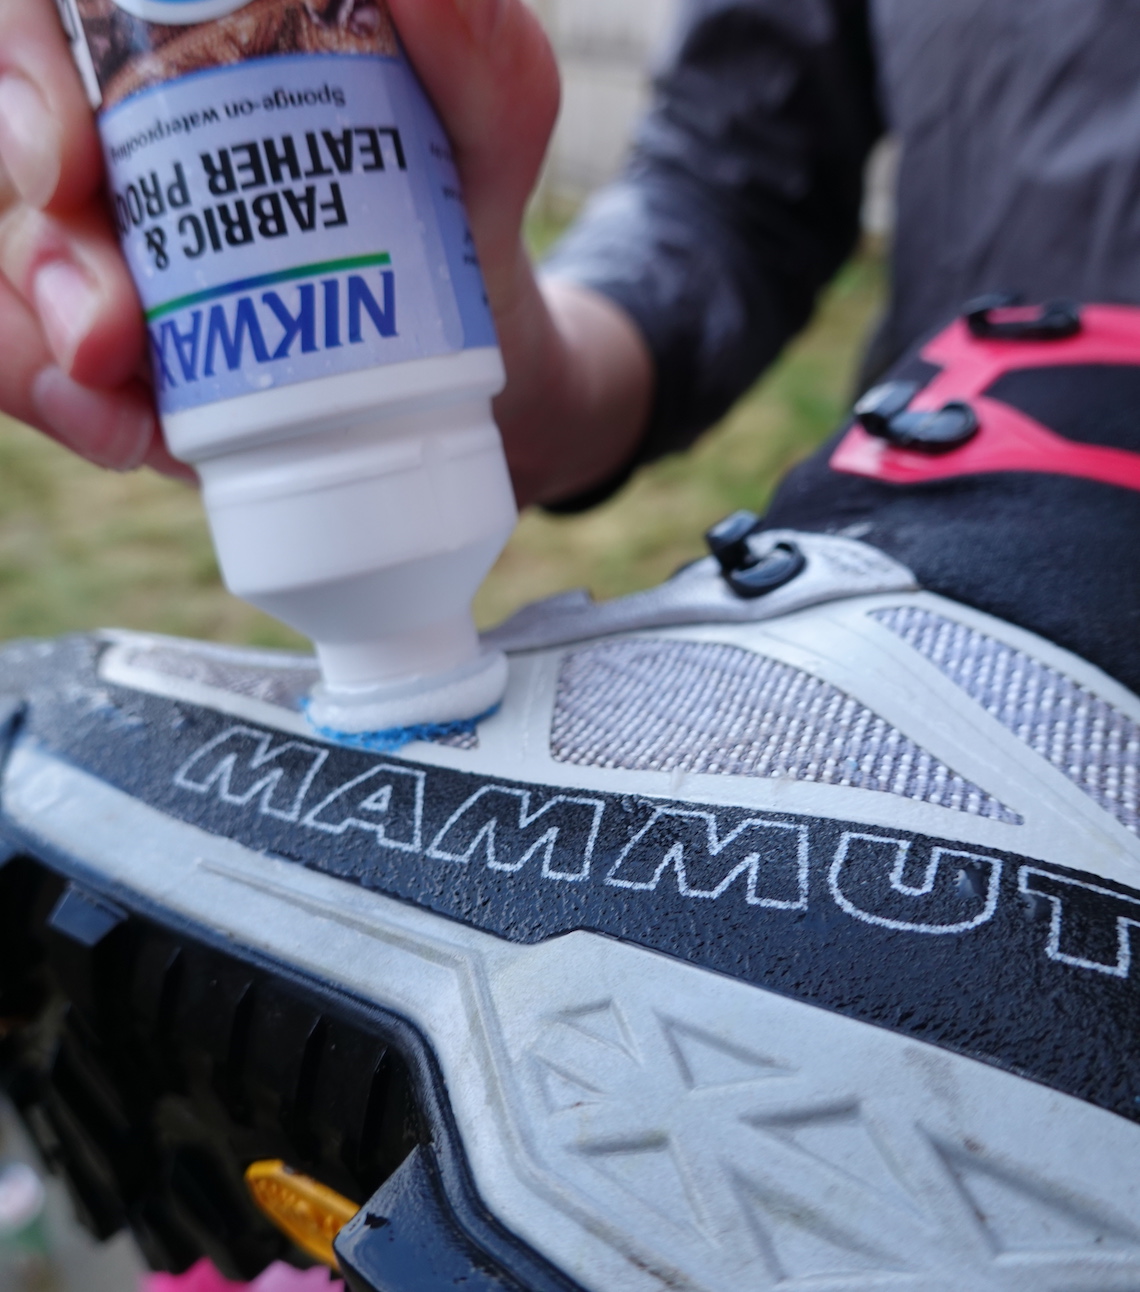
Waterproof your boots and leave them to dry out
Dab off or rinse off any excess cleaning gel from the boots, which should remain slightly damp due to the cleaning process. Next it’s time to apply a re-proofing product such as Nikwax Fabric and Leather Proof. Apply the product generously to the wet footwear, using either the sponge applicator or spray mechanism depending on the product.
After two to three minutes, wipe away any surplus proofing liquid with a clean cloth. Leave the boots to dry in a warm, airy place and – hey presto – your precious pair of hiking boots are clean, waterproof and ready for the next epic adventure.
Click here to enter our latest competition to win a bundle of Nikwax products worth over £100!
How to clean and re-proof your hiking boots: Top tips
- Remove the worst of the mud at the end of your walk by walking through wet grass or lightly dipping your boots into a stream or puddle.
- Never force your boots to dry quickly by placing them close to a fire or radiator – this can lead to deterioration and over-stiffening of the fabrics. Instead dry your boots naturally in an airy, warm place, placing scrunched up newspaper balls into the boots to soak up moisture.
- Don’t forget to occasionally clean the inner of your boots, which can also become muddy and sweaty.
- Always test cleaning products and gels on a small section of the boot first, to ensure it doesn’t cause any discolouration.
- Remove insoles when drying out your boots – this will speed up the process.
Don’t forget to enter our latest competition to win a bundle of Nikwax products worth over £100!