

Scrambles in the Dark Peak: Best routes in the Peak District
About the Author: Billy Johnson

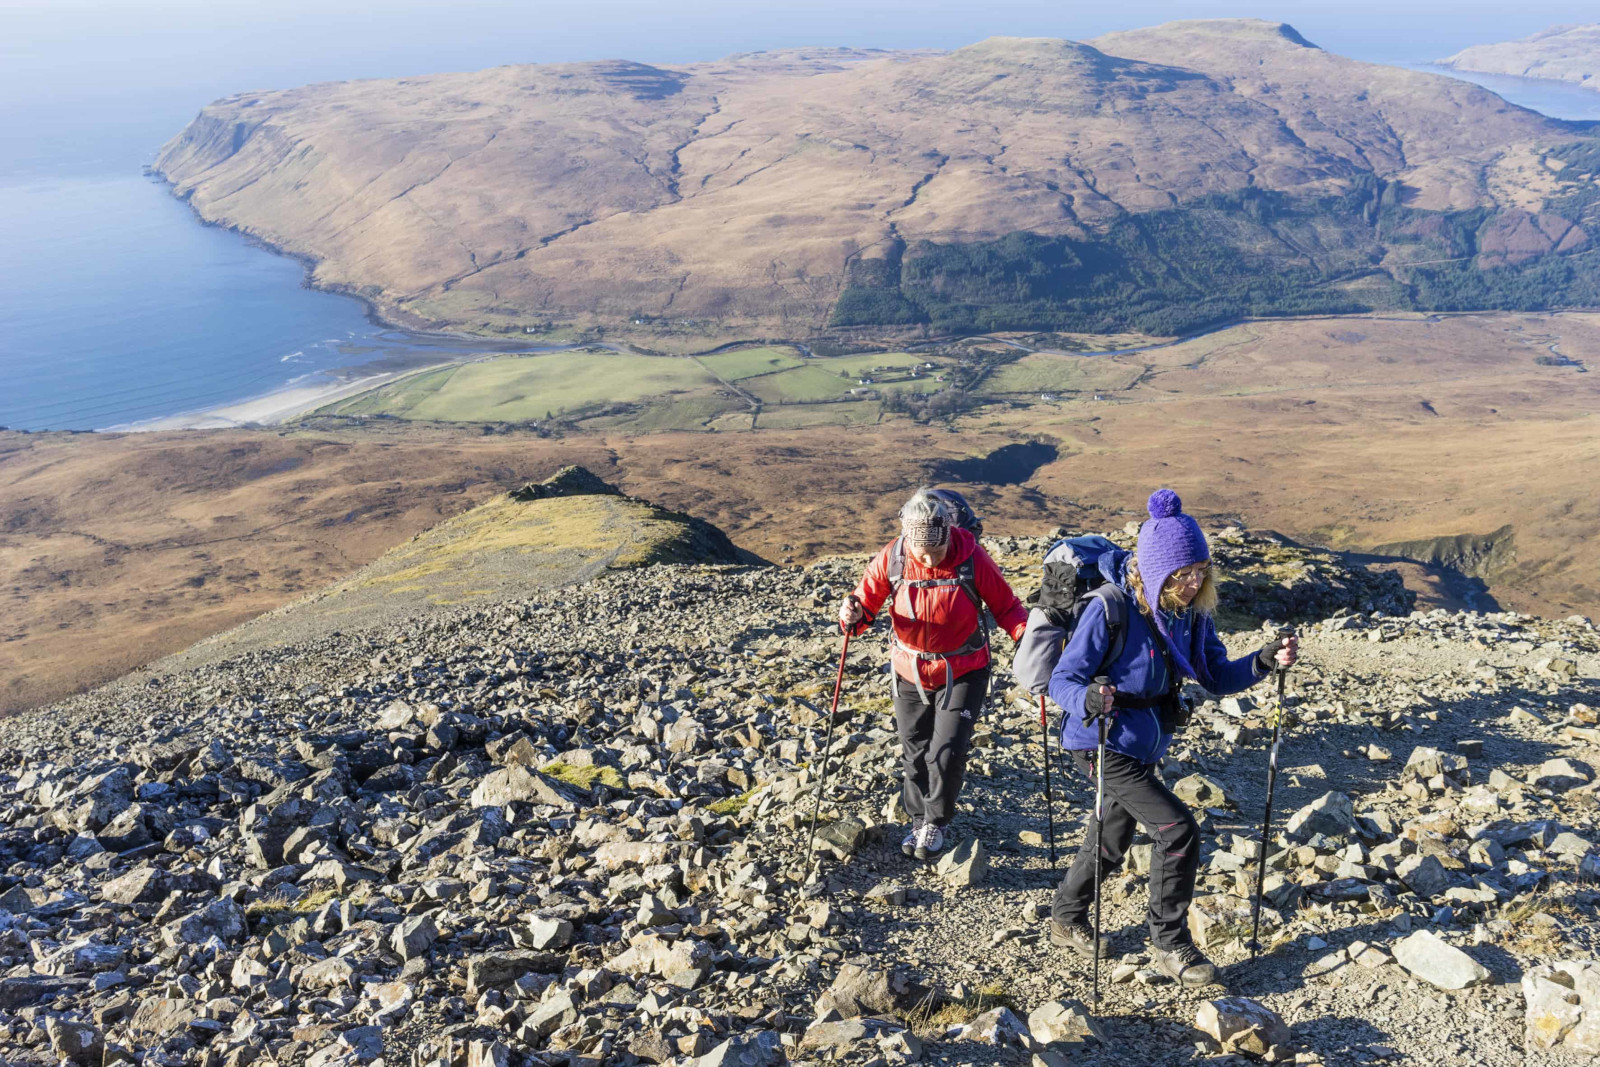
Scrambling is a great way to add a little more excitement to your hiking and access new places that are rarely trod by walkers, which can pay off in a big way in the busy Peak District.
Here, we highlight an excellent circular walk that involves plenty of scrambles at different grades for different skill levels, plus another circular hike through diverse scenery for a fantastic weekend of adventure.
The Peak District is home to the United Kingdom’s first national park, in part due to the famous Kinder Trespass in 1932, which campaigned for open access to the countryside for the workers who lived in the smoke-filled industrial cities and towns surrounding Peakland. Today, it’s one of the UK’s most visited and popular national parks, thanks to its central location, proximity to major cities, and easy access by car and public transport.
But for these same reasons, it can feel like it’s hard to escape the crowds. Go to Mam Tor on a summer Saturday or Kinder Scout after snowfall, and you’re bound to be waiting in a queue to reach the summit and jostling for a place to park. While it’s great that people are enjoying the outdoors, it’s also nice to get a bit of solitude while you’re out there.
That’s why scrambling, always fun wherever you do it, is particularly worth trying in the Peak District. It may not have the ridges and exposure of the scrambles in Scotland or the Lake District, but there are rewarding, wild, and challenging ascents to be had all over Peakland.
There’s also something for everyone, whether you’re after scrambles that involve technical moves or an easy first-time climb. If you’re with kids, there are gentle hill walks with tors that are perfect for exploring and climbing on, and in winter, the cloughs and streambeds are ideal for winter scrambles and ice climbing for beginners and experts alike.
So, Delancé and I headed out to the northern reaches of the Peak District for two days of scrambling and hiking away from the crowds. What we discovered was an itinerary that offers a bit of everything and is a mighty enjoyable way to spend a weekend. It’s not too intense, but it’s the perfect way to get your kicks in the Peaks.
DAY ONE: SCRAMBLING IN THE DARK PEAK

We start by heading to Torside Reservoir to begin our scrambling adventures, which are in the gullies along the northern slopes of Bleaklow. Bleaklow Head is the second-highest point in the Peak District at 633m, and rather interestingly, considering its central location, is also the most easterly point of the British Isles that’s over 2,000ft.
Despite this, it’s not as popular as Kinder Scout and has historically had a dour reputation thanks to its blanket bog and peat, which are challenging to traverse. Wainwright once wrote of Bleaklow that “all who get on it are glad to get off.” Sorry to say, Alf mate, but you’re wrong. Scratch around a bit, and there’s plenty of interest.
We parked up in the free but small car park (think about getting there early to ensure you get a space) in the southeast corner of Woodhead Reservoir, and got ourselves ready for the hike and scramble. At 9.7 kilometres return, it’s not too long a day out, but it’s slow going, so you can expect to be out for at least four hours.
There’s also the possibility of extending the outing to include a trip to the summit at Bleaklow Head, which adds around two miles and gives you the chance to inspect the rusting engine parts of a Bristol Blenheim airplane that crashed there in 1939 (not to be confused with the nearby wreckage of an American B-29 Superfortress).
The first part of the walk is a 1.2km walk along a tarmac track towards a private residence, and we turned right just before the fence and wandered up a faint trail that crosses a stile, veers left, climbs another stile, before descending to the stream of Shining Clough.
The section of walking from here is lovely, with the deep gully shaded by old trees and water gently trickling over thick carpets of moss, although the ground is a little unsteady at times, so check your footing as you follow the stream up. It’s wild, and while you’re surrounded by trees and rocks, you can easily forget there’s a busy A-road barely a mile away.
The scrambling begins

As we continued up the stream, we began the scrambling with holds obscured by vegetation: even in the driest conditions, you’re likely to get wet here as you haul yourself up through grass and fern. After a short time, we encountered a big, imposing ledge, which we attempted to climb but decided that it wasn’t worth it without ropes: it requires proper rock climbing moves.
There’s a vague path that ascends the slope to the left of the clough, so we took that up to the top of the ledge and continued our scrambling up satisfying blocks which offer solid holds. Then, it was just short sections over small cascades and steps before we reached the top of the clough. From the top, we were able to join a path that leads along the edge of Bleaklow to the west.
Along this path, you’re able to drop down Deer Knowl and Lawrence Edge for scrambling over clean rock; this requires good pathfinding and sense because there are steep gullies and only faint tracks to guide you, so if you’re not confident, carry on here. If you do decide to check the above routes out, you’ll find plenty of interest, with satisfying moves and peculiar rock formations that are well worth a look.
After exploring these edges, we carried on as the track swings south above Wildboar Clough. With a little manoeuvre down the slope, it’s possible to drop into the clough so you can experience the classic scramble, which is particularly popular in winter. There are some impressive walls here with good holds to get yourself up and over with, and the deep brown ponds and purple heather in August give the clough a sense of grandeur.

The path you’ll take depends on the water level, but it shouldn’t be too hard to pick your lines and navigate towards the top of the gully. From here, you can walk over the peat towards Bleaklow Head and the ruins of the Blenheim and the memorial to the airmen who lost their lives. Once you’re satisfied, it’s a case of retracing your steps towards Deer Knowle and descending via a path that’s not easy to find amidst the heather and sheep tracks. The other option is to descend via Torside Clough, which involves going down a grade one scramble, but then you’ll be faced with walking 1.8 miles back along the reservoir to the car park, so we opted to stay on Bleaklow for the return journey.
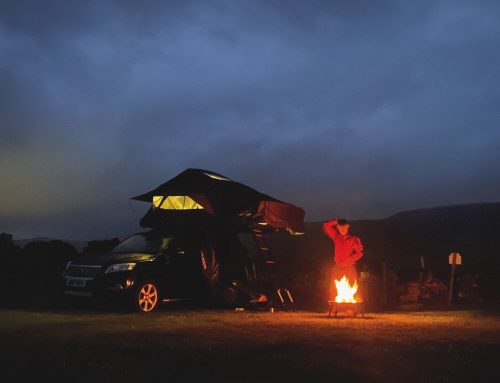
Wet, muddy, and having only seen a couple of other people in the distance (a definite win considering we were there in the peak of the summer holidays), we returned to the car satisfied with the day’s scrambling. We headed to our campsite for the night at South View Farm Camping near the village of Little Hucklow, and I set up my tent. At the same time, Delancé was all smug in her spacious RoofBunk rooftop tent, and we got a fire going, cooked enough chilli for six people, and called it a night just as heavy rain settled in.
DAY TWO: HIKING PADLEY GORGE AND OWLER TOR
If you fancy a challenging but exciting scramble while you’re in the area, you can check out Elbow Ridge on Winnats Pass, which is a grade 3 ridge scramble that climbs above the road with increasing exposure. Since the scramble involved over grass and limestone, which can be slippery even when dry, and it was raining heavily as we packed up our campsite, we decided to give it a miss and go straight for the walk we’d planned to round off the weekend.
It begins in the pretty village of Hathersage, which is well-equipped for outdoor adventures with plenty of shops and places to eat. After a tasty bite and a coffee at Colemans Deli, we trekked up a hill to the east of the village along a path that winds through some surprisingly dense and pleasant woodland, under the shade of towering conifers and past ancient quarries dense with overhanging vines.
Emerging from the wood and walking across a moor, we climbed up Millstone Edge and onwards to Over Owler Tor, with its smoothed gritstone formations that are popular with families, being great for kids to scramble around and endlessly photographable, but you might have to wait your turn to get a snap.
There’s some decent bouldering to be had around here, too. A short distance away is Mother Cap, another picturesque rock formation, and across the road lies Owler Tor to finish off the trilogy of tors. We descended off the moor and onto a path that runs along Burbage Brook, taking you into the National Trust site of Padley Gorge. Not only is the gorge impressive, but the ancient woodland of gnarled oak and blankets of lichen are stunning at any time of year, although quite busy.
Leaving Padley Gorge and arriving in Grindleford, there’s the chance to stop for a coffee at the Grindleford Station Café, and if you’re keen to head home, you can easily catch the train back to Hathersage if you’ve timed it right. Otherwise, the walk continues down the road to meet the River Derwent and follows the Derwent Valley Way for 4 kilometres back to Hathersage. The whole walk is 11.6 kilometres and should take you about three and a half hours, so there’s time to combine it with the scramble at Elbow Ridge or a hearty lunch before heading home.
BLEAKLOW SCRAMBLING
Distance: 9.7km | OS Maps: Explorer OL1
Cicerone: Scrambling in the Dark Peak
After an easy walk along the tarmac track east of the car park, follow a track south to reach the streambed of Shining Clough, a grade 2 scramble. The routes are straightforward, although you’ll have to take the traverse path to avoid the ledge, which is only suitable for climbing. Once you’ve reached the top of the clough, head west along the path at the edge of the hill to locate three scrambles (grades between 1-3) up Deer Knowl and Lawrence Edge.
Good pathfinding ability is needed here to negotiate the thick heather and avoid the bogs and hidden streambeds. Once satisfied, continue on the path and drop into Wildboar Clough for a final grade 2/3 scramble. For an extra 3.2km, you can walk across the peat to reach the summit at Bleaklow Head, before returning along the path towards Deer Knowl, where you’ll be able to descend to reach an old quarry track that takes you straight back to the car park. Cicerone offers a useful guide that covers these routes, Scrambling in the Dark Peak
Time: 4-5 hours | Elevation gain: 522m
Difficulty: Moderate / Challenging
Parking: Woodhead Reservoir (free)
Whatthreewords: ///detect.tallest.thumb
OWLER TOR, PADLEY GORGE, AND GRINDLEFORD CIRCULAR WALK
Distance: 11.6kmeath | OS Maps: OL1 & OL 24
This is a pleasant circular walk from the pretty village of Hathersage that offers diverse scenery and plenty of interest to make for a good half-day hike. Leaving from the village, the path tracks up through overgrown plantations and past ancient quarries, before crossing moorland to reach Owler Tor.
From the plateau, there are great views of the surrounding valleys and rock formations, including Mother Cap and Over Owler Tor. Descending into another valley, you’ll walk along a path that’s easy underfoot through the peaceful ancient woodland of Padley Gorge, before a pitstop in Grindleford. The return trip is a pleasant amble alongside the River Derwent to return to Hathersage.
Time: 3-4 hours | Elevation gain: 286m
Difficulty: Easy | Parking: Street parking in Hathersage (free) or Oddfellows Road Car Park – note that the cash machine is out of service and payment is only possible through PayByPhone app
Camp in style with a Roofbunk roof tent
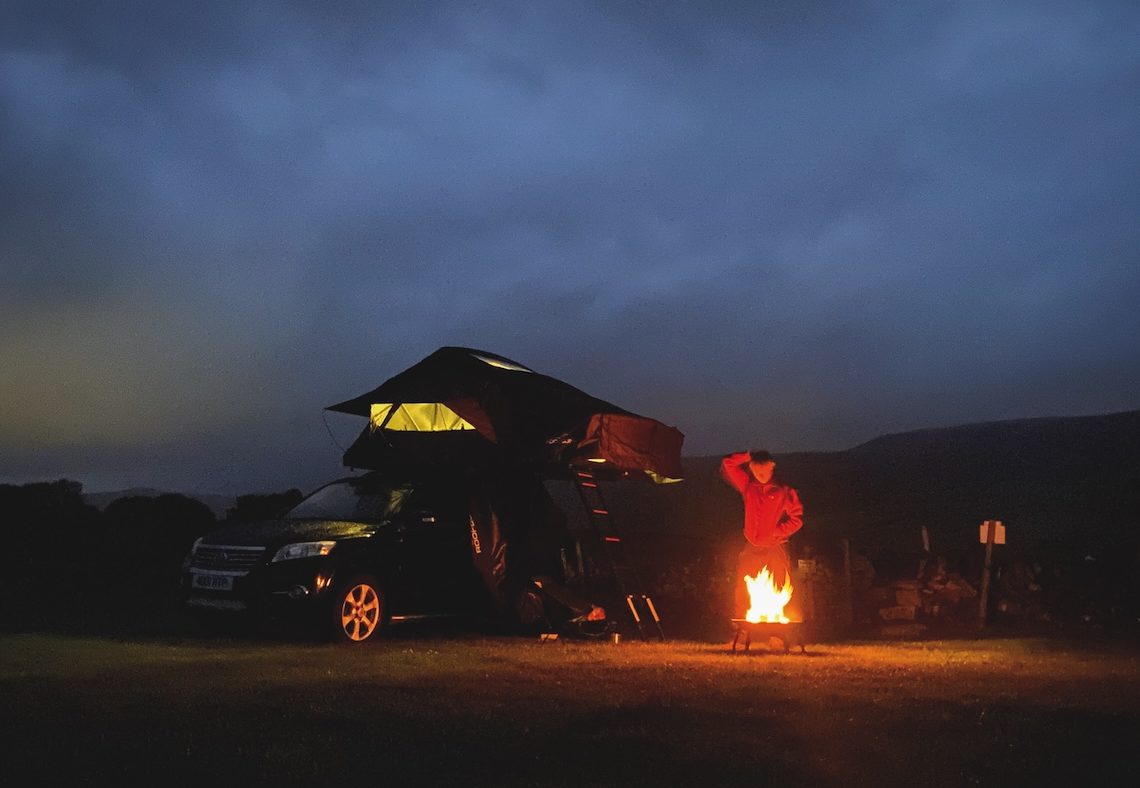
I’ve recently discovered the joys of camping with a rooftop tent while exploring Wales, which opened a new way of sleeping outdoors for me. Impressed with the comfort, ease-of-use, practicality, and quality, I was not-so-quietly converted to the rooftop tent lifestyle. However, like any big purchase, it’s worth doing a bit of research before opening the wallet.
So, I was keen to see what other options were on the market, and RoofBunk’s Explorer XL fitted the bill perfectly. And after scrambling up the cloughs and tramping over the bogs of the Peak District, it was the ideal place to lay my head. If you’ve also been considering a rooftop tent, here’s why it’s worth checking out RoofBunk.
Beverly Hills camping
The Explorer XL doesn’t just have an XL in its name for the sake of it, like a disappointing fast-food burger. It’s seriously massive, measuring 195cm wide, 240cm long, and 130cm high, so there’s enough room for two André the Giants to sleep side-by-side, no spooning required. RoofBunk says it can sleep two adults and three kids or four adults, either of those would be cosy, but two adults and two kids or three adults is certainly achievable without arguments breaking out in the night when someone wants to get down the ladder for a wee.

Light and strong
Despite its spacious interior, the Explorer XL only weighs 65kg. This means it can be installed on most cars, although the actual size of the XL may dwarf smaller vehicles, in which case the regular Explorer is worth a look. This weight is also manageable for two people to lift on and off the roof, making it easy to remove when not in use and reinstall when heading out on an adventure. It’s also rated to hold 350kg inside once it’s been set up and withstand winds up to 40mph.
Protection from the elements
As you’d expect from something that’s designed in Britain, RoofBunk’s tents are plenty waterproof, something we tested firsthand when it rained heavily all night long. The Explorer XL has a large canopy that surrounds the ladder, so you can stay dry when you’re getting in and out. Even better is the amount of space underneath the floor of the tent that overhangs the side of the car. This area is the perfect place to cook food and shelter from the rain while you’re at the campsite, and you can add an annexe awning for even more space and weather protection. This makes it a practical option for weekend getaways any time of year, and it’s perfect if you’ve got kids, too.
Creature comforts
Alongside a soft and supportive memory foam mattress (which stays inside alongside your bedding to make set-up even faster), there’s an LED strip light that’s powered by a USB powerbank, plenty of windows with mosquito nets, waterproof skylights up top for watching the stars, and a shoe holder so you have somewhere to put your muddy boots that you can still easily reach. The canvas is breathable and blocks sunlight effectively, so the biggest challenge in the morning is getting out of such a comfortable and cosy bed. All this, and it takes just a couple of minutes to set up.
Find out more about RoofBunk’s tents
Based in Nottingham, RoofBunk offers free fitting advice along with the installation of your roof tent. With a range of hardshell and softshell rooftop tents, there’s something for every vehicle and situation, where you’re looking for easy shelter after you’ve been bagging Munros or a spacious set-up for your family.
Find out more at their website here.

The Roamer is a hardshell tent that opens in seconds, fits almost any car, and has enough room for two adults with a small child. It’s perfect for on-the-go adventures.
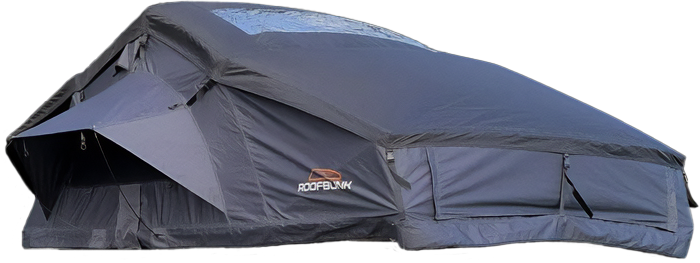
The standard Explorer fits two adults and a child and is designed for any kind of car camping, whether you’re on a road trip or based at a campsite for a few days. It’s also easy to fit on most small cars.
Like the Explorer, but bigger. Loads of space for families or a couple of adults to share without having to snuggle up. If you need even more space, you can choose the Explorer Super XL for £1,750, which is the largest roof tent in the UK with a whopping 240cm x 225cm x 130cm of sleeping area. That’s about large enough for two adults and four children.

The sleek clamshell design of the Adventurer means that it opens and closes in under a minute and is particularly aerodynamic while you’re on the move. Plus, it has roof bars so you can also carry your bikes, kayaks, or surfboards.